I made a rivet corrosion test plate just before winter. What I did was to spray it once with salt water and then just lay it on the veranda. It has laid there during the winter and spring in rain and snow and sun and I took some pictures of it now before fastening it to my boat to see how it handles marine atmosphere. It will stay on my boat the rest of the season.
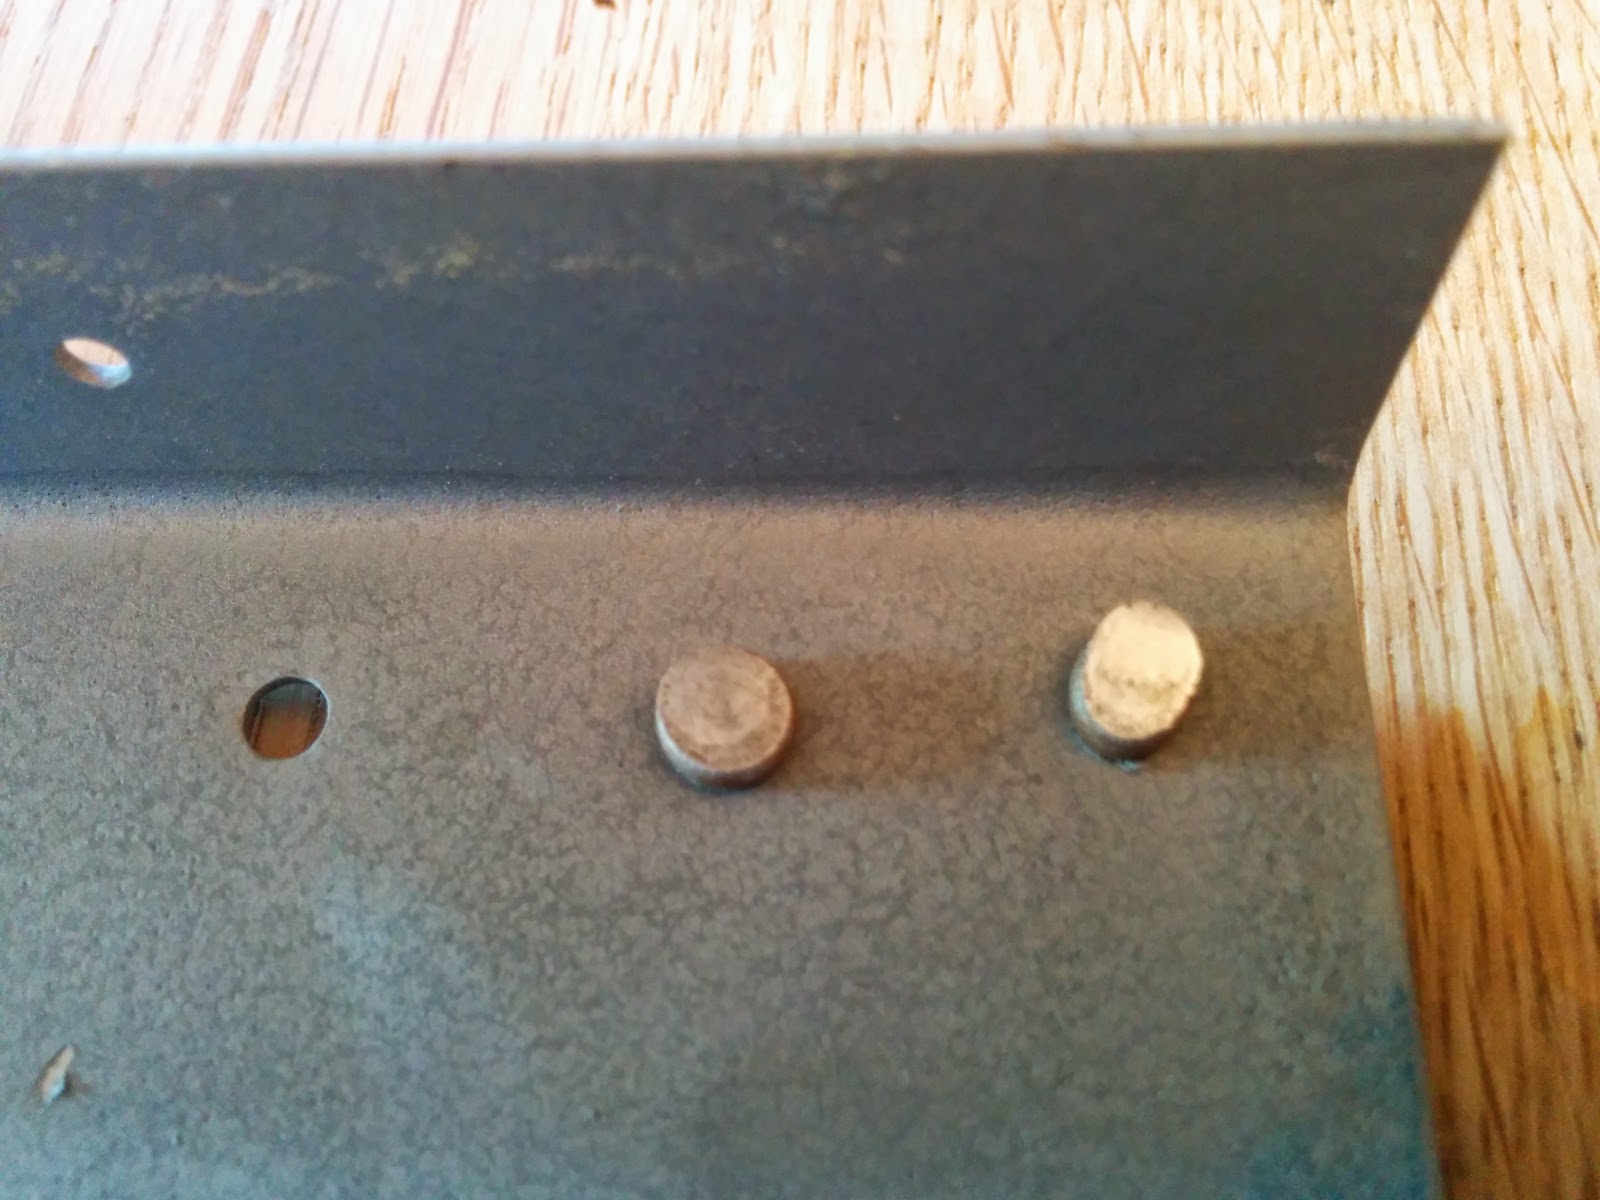
The primer used is aluminum pigmented vinyl. The rivets are stainless steel and ordinary AN aluminum. The yellow "gue" is Duralac. Duralac is a special compound made particularly to prevent galvanic corrosion between dissimilar metals. Typically this is stainless steel and aluminium in marine applications. Duralac was originally made for aerospace applications, but is today mostly used in sail boat applications where they often use stainless rivets on aluminium, just like Sonex does. I use Duralac on all my stainless steel rivets for the Onex. I was a bit too generous with the duralac here, before I got used to it.
The aluminium rivets looks like new. Nothing is going on there. The SS and Duralac also look like new, primer or no primer, so this is good. Bare stainless rivets on bare aluminum shows signs of corrosion, particularly on the "shop" side. What is more troublesome is that bare stainless rivets on primed aluminium also shows signs of corrosion, even under the primer. The reason for this is probably that when the rivet is set on the dry primer, it widens and create small cracks in the primer that allows water to enter. This is obviously prevented when using duralac, but I hoped the primer alone would stop it. Maybe if the rivet was set "wet" with primer, all would be good, but I didn't make such a sample (didn't think of it).
Conclusion so far:
- Bare stainless on aluminium will make the aluminium corrode.
- Duralac stops all corrosion, primed or not primed, this makes me happy.
- Pre-primed (and dried) aluminium does not prevent galvanic corrosion. Maybe another primer works better, or "wet" setting works ?
- Aluminium rivets on aluminium does not corrode, primed or not primed.


