Showing posts with label h-stab. Show all posts

Sunday, January 21, 2018

Tail surfaces

Finished all the mods, so now the tail surfaces can be removed without drilling out rivets.


Only need some fine trimming of all the trimmings done, and it's OK.


Bolts for the h-stab

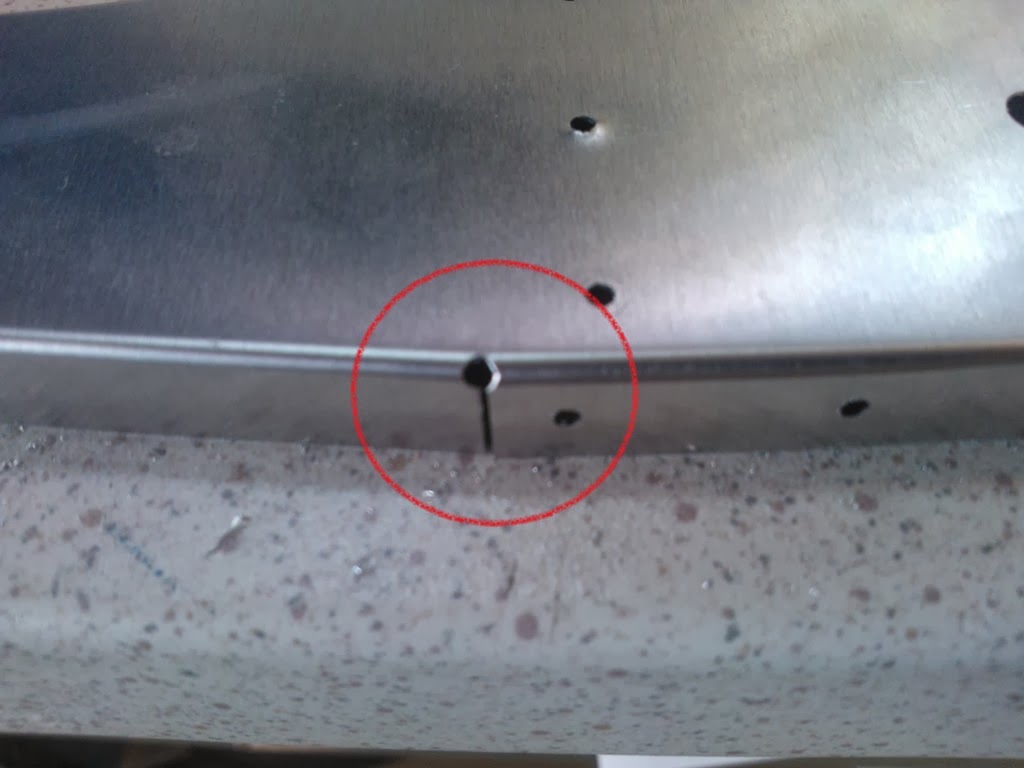
Drilled the holes for the bolts for the h-stab. Clamped it securely first, then drilled. Had to trim off some of the fuselage skin to have space for the drill. For the aft bolts there was yet another bolt-rivet collision. I had to remove 4 rivets and insert them the other way. The other way is the wrong way according to common practice (the shop head shall be on the thicker member, if possible).

I have lost count on how many bolt-rivet, bolt-bolt and rivet-rivet collision there are in this kit. With pre-drilled holes, there really is no excuse for a single one!!! Well, cannot do anything but to move on.


Thursday, January 18, 2018

Stab trimming and vertical tail

The stab required 3 more trim rounds before I was satisfied. The vertical surface also needed some trimming. The rudder goes on nicely, so I get it's fine.


Friday, November 15, 2013

Dimpled the H-stab

Dimpled the H-stab. Match drilled the rudder. Now I have to wait for Lasse (the controller) before I rivet the skin onto the skeleton.

I also tried the Duplicolor spray on the tip. It looked nice. The color is dark green. The process will be to use Duplicolor plastic primer on the fiberglass parts and Duplicolor aluminium primer on any aluminium parts I want to paint. Then on top I will use Duplicolor 2K clear paint. This should look nice and be very durable.

I saw on the EAA webinar that some actually use Latex paint. I think Latex paint in the USA is the same as we call acrylic waterbased paint?, normal house paint. It looked very interesting, but I think I will stick to Duplocolor car paint, or else I would have to experiment a whole bunch to find good Latex paint here in Norway.


Tuesday, November 12, 2013

Monday, November 11, 2013

Elevators finished

Even the 31 drill is too small for the dimple die. Drill up all the holes to 30 and dimpled. A few stems protruded maybe 1/10 of a mm or less, which was easy to fix with a scothbrite wheel on a drill. So I think I continue with 30 drill bits for now. Also drilled the hinges on the H-stab.

Sonex will send new parts for the defect vertical stab parts.


Sunday, November 03, 2013

H-stab riveted

Got my new #30 drill bits on Saturday, drilled up the H-stab skeleton and riveted it together (still waiting for the 31 and 32 drill bits to be used on the skins). I know there is really no need to prime the internals of 6061 aluminium, but I just can't resist the urge to prime... Primed the thick parts with an aluminium primer from Duplicolor. That primer really feels nice, with a smooth and hard surface even though it is only 1K. Then I primed the mating surfaces using a brush and Jotun Yachting Vinyl Primer. That primer is supposed to be watertight and good, but the resulting finish wasn't all that good, it became thick and spotty.

The plan is to polish the airframe and use some color on the fiber glass parts and some of the aluminium. I would really like to use Jotun Yachting products, since they are available everywhere and they have this new system with high gloss 2K paint that that can be rolled on and is extremely durable. But the experience with the primer was not good, it probably has to be very thick to give a good finish, and then it becomes very heavy. Jotun also have a 2K epoxy primer, but then I am better off using my real aviation 2K Strontium primer (and that is just too much work and hazzle). Duplicolor automotive spray cans seem to be a better alternative right now, but will that paint last? Then I probably can use Biltema automotive paint at half the price (Biltema use some OEM paint from an unknown, but large supplier similar to Motip-Duplo). Both Biltema and Duplicolor is readily available and they have primers for plastic, steel and aluminium to be used under their color system.

Also tried my Duralac. Each rivet has to be dipped in that yellow high viscous stuff. Actually it's not that much work, because when dipped I can insert lots of rivets at the same time, they stay in place due to the viscosity. After that I just go over with my pneumatic rivet puller. For the external surfaces this yellow goo will not look nice, but the excess Duralac can be wiped off easily with paper and acetone, and still seal and protect the rivet and aluminium internally.



Wednesday, October 30, 2013

Tips fixed

Some "blue foam", epoxy, glass fiber threads and gel coat and the tips looks perfect again, and the skin fits as it should.


Sunday, October 27, 2013

H-stab and tips

The tips were a bit challenging. For some odd reason, the tip ribs have pre-drilled holes. So do the skin, but not the tip. The tip is to be sandwiched between the rib and the skin and this makes it impossible to line up the holes. I used my old home made hole duplicator and duplicated the holes from the rib to the tip. Then with the tip in place, the skin were way to tight and I had to cut off a bit of the tip to be able to line up the holes. This leaves a small gap I need to close with foam or something glued to the fiber glass tip.


Elevator and H-stab

Finished the elevator as far as I could without match-drilling to correct size. 1/8 rivets usually requires #30 drill bit. But from Mike when using flush rivets the holes needs to be smaller, and #31 or #32 drill bits shall be used. I am not entirely sure why, but I would guess that if the holes are "too large" the stem will break off too late and will protrude above the rivet, and this will not look good. I ordered a bunch of 31 and 32 drill bits as well as #30 since my last one got worn and useless when drilling the elevator horn (what kind of steel is that horn made of? )

Both halves of the elevator are now drilled in place with the hinges. The only way to fit the stab-side of the hinges is now to completely finish the elevators with the hinges riveted on, or else I could end up with having to file each and every of the 66 lobs on the hinges if I am a fraction of a millimeter wrong.

The hinges on the elevator shall be 1.45 mm down from the upper surface. Luckily I had a large carpenters ruler that were exactly 1.45 mm thick that I used as an offset.

Tried the skin on the stab, and to my surprise it fits. Several brackets and ribs on the stab needs modification though due to interference.


Monday, October 14, 2013

Bending the spars

Bended the spars of the horizontal and vertical stabilizers using a hydraulic press in the shop in the lab at work. Also bought a cheap rivet gun at Jula.


Sunday, October 13, 2013

More stab

Deburred all the parts for the stab (except the holes that needs to be match drilled). I also cut out the elevators from the stock Xenos "ruddervators". Left a 5 mm oversize on the root to be able to trim to correct size.

The tip ribs have this groove. I measured it to be 0.7 mm. I drilled a hole to stop any eventual stress risers. One of them was quite heavily skewed (wonder what Sonex say about that). The attach angles (T04-12) are oversized and needs to be trimmed to be able to fit flat on the spar.

I have to wait for the hardware, hinges in particular, to be able to work further, so I started to sort out the parts for the vertical stab, an will bend the vertical spar tomorrow as well.


Started on horizontal stab

Got everything packed out. The preformed angles and bits and pieces looks excellent. I am also impressed with the packing. So I started with the horizontal stab. The reinforcements did not have predrilled holes, only tiny pin holes made by laser (or something). There are some amount of deburring, match-drilling etc that has to be done, but very little measurements and cutting. That saves LOTS of time. The fwd spar needs to be bent, but my brake was just too small so I have to bring it with me to work on monday and do it in a real press.

I forgot that no hardware is included, so I ordered that today from Aircraftspruce. I need some bolts and the hinges for the stab. Some of the stuff was put on back order, and ACS sent me a mail that they have cancelled my back order because to the shipment cost was much larger than the cost of the goods. Then I found that a shop in Germany is the official European distributor of ACS (aircraftspruce.eu). I ordered the rest from them + some drill bits and other small parts at a fraction of the shipment cost. That will definitely be my main source of supplies from no on.

Compared with my RV-4 this kit goes together much faster, several orders of magnitude faster. That is good. If the stab is a measure of the strength of the rest of the airplane, then it is built like a tank.

So far I am very impressed with the kit. The drawings are light years ahead of the RV-4, with both inches and mm measurements. Nevertheless, what I am least impressed with is the drawings. I have already found errors in the drawings, and they are sometimes unnecessary difficult to read. 3D cad is several decades old by now and a few exploded views would make everything clear in an instant. I have also found one major bug: It doesn't say what kind of projection is used. It's American so american projection is used, but it is common practice to state it on each drawings.